These are the secrets to making a no-fail butter pie crust recipe that won’t slump or shrink, and turns out tender and flaky every time.
⭐️⭐️⭐️⭐️⭐️
“Best pie crust ever – next time I need to remember to freeze it 30 min before baking but still turned out delicious, followed your directions to the letter otherwise, I don’t think I’ll ever buy a pie crust again – seriously that delish.” -Laura, FoodieCrush reader

This Pie Crust Recipe Made with Butter Is Super Easy and Always a Hit!

It feels like there are two big pie seasons that hit every year: Spring’s berry pie season and Fall’s Thanksgiving pie season, with all other slices o’ pie falling somewhere in between.
We are smack dab in the middle of prime time pie making and eating and everyone knows that a foolproof butter pie crust recipe is the make-or-break point of baking an amazing homemade pie. More important than whatever fruity, nutty, or creamy fillings you whip up—the true test is its crust. It should be flaky, light, flavorful, and easy to slice through with a fork.
I’m a bit obsessed with baking pies thanks to the over the top pie crusts I’m incessantly inspired by because of the Instagram account of my favorite local pie company.
Now, after much trial and error, I’ve decided this is the only pie crust recipe I’m willing to bet my pie on. And now, everything that I know, you will too.
Enjoy!


Why Make Pie Dough with Butter and Not Shortening or Lard?
All good pie starts with good dough. But how to go about achieving the perfect flaky pie crust has been as hotly debated as whether Madonna or Lady Gaga is the real queen of music.
- All butter pie crust vs. shortening: An all butter crust with different size chunks of the fat in your dough makes it flaky and light. Butter contains more water than shortening, so as it bakes the steam puffs up the crust creating light and flaky layers. Shortening can take on a greasier feel, and lacks the same flavor as butter.
- All butter pie crust vs. lard: The main issue with using lard is that it can be difficult to get your hands on high quality rendered leaf lard. Lard variations found in grocery stores are often hydrogenated and filled with preservatives, so I choose to skip them.
Heidi’s Tips for Recipe Success
Chill EVERYTHING. Cold ingredients, especially the butter and the water, keep those buttery fat flavor pockets solid and stand-alone when the heat hits the butter rather than warm and homogenized in the dough, creating sheaths of flaky layers. Fill a 1-cup measuring cup half way with ice cubes and the rest water and add a few tablespoons of water at a time for a shaggy crust.
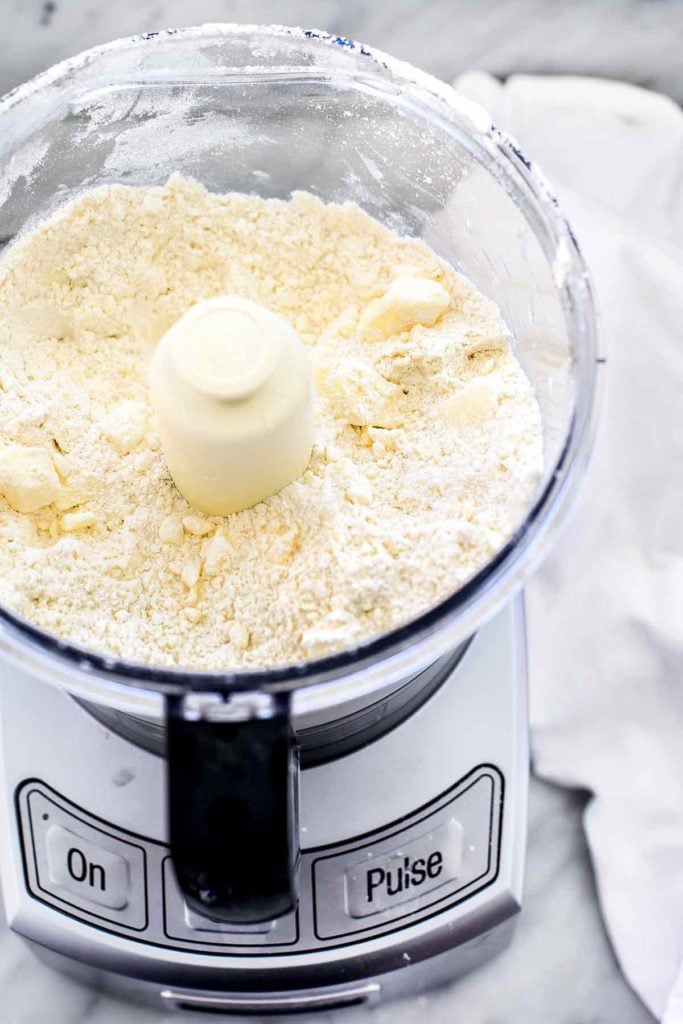
You want chunks of butter in your pie dough. When you cut the butter into the flour (I use my food processor to do this), you’re looking for the butter chunks in the dry dough to be the size of cornmeal, peas, almonds and walnuts, aka a mixture of smooth, small, and big chunks of butter for the flakiest texture.
Don’t knead the dough or it will make too much gluten and the crust will be tough. Also avoid over handling the dough, especially with warm hands, or the butter will melt.
Chill your pie dough for best results. I’ve tried all the tricks of adding vinegar or vodka to my pie crust to add that extra snap to crust, but in the end it comes down to keeping things chilled for the best flakes. I also add sugar to my dough for a just a slightly sweet taste, and a surprise ingredient for a little more lift and loft: baking powder!
Ingredients for Making Pie Crust with Butter
The full recipe, with amounts, can be found in the recipe card below.
- All-purpose flour — Spoon the flour into your measuring cup and then level off the top using the back of a butter knife for the most precise measure.
- Granulated sugar — Doesn’t make the pie crust taste sweet, it simply encourages browning.
- Kosher salt — Always, for flavor.
- Baking powder — This is my secret ingredient to creating a super flaky pie crust.
- Unsalted butter — Use a high-quality unsalted, butter for pie crust. When making pie crust I splurge on a good European-style brand with 85% fat content. Full-fat butter is where the flavor lies, with a high butterfat percentage and low water content. Sure, I’ve made pie crust with salted butter, but unsalted allows you to better control the amount yourself.
- Ice cold water — I mean ice cold! Pour water into a bowl and top it off with some ice cubes so it’s super cold.
Heidi’s Tip: Make sure your butter is really, really cold. Sticking it in the freezer for 15 minutes helps. But before you do, use a bench scraper to cut the sticks of butter into ½ inch cubes, then freeze if desired. Or, work quickly so your butter stays cold and go straight into the mixing.
How to Make a Perfect Pie Crust
- Add the dry ingredients to the bowl of a food processor. Pulse just a few times to mix everything together.
- Process the butter in stages. Pulse half of the butter (3 to 4 pulses), then add the rest of the butter and repeat.
Heidi’s Tip: When using the food processor, be sure to use quick pulses, not long processing, or you’ll lose your chunks of butter. Add just enough water to barely bring the dough together.
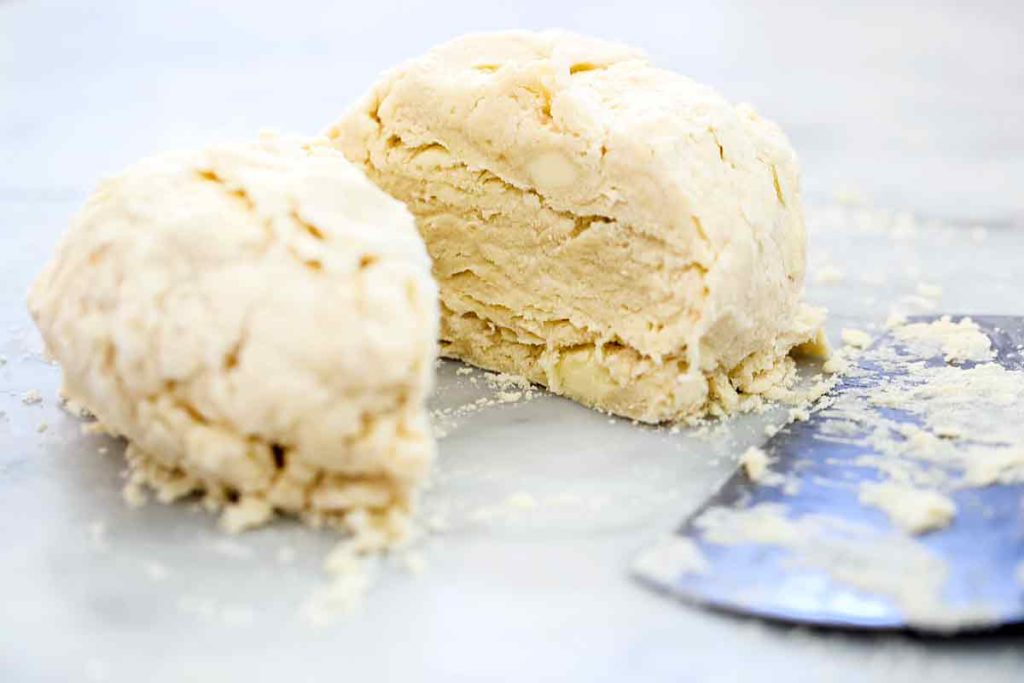
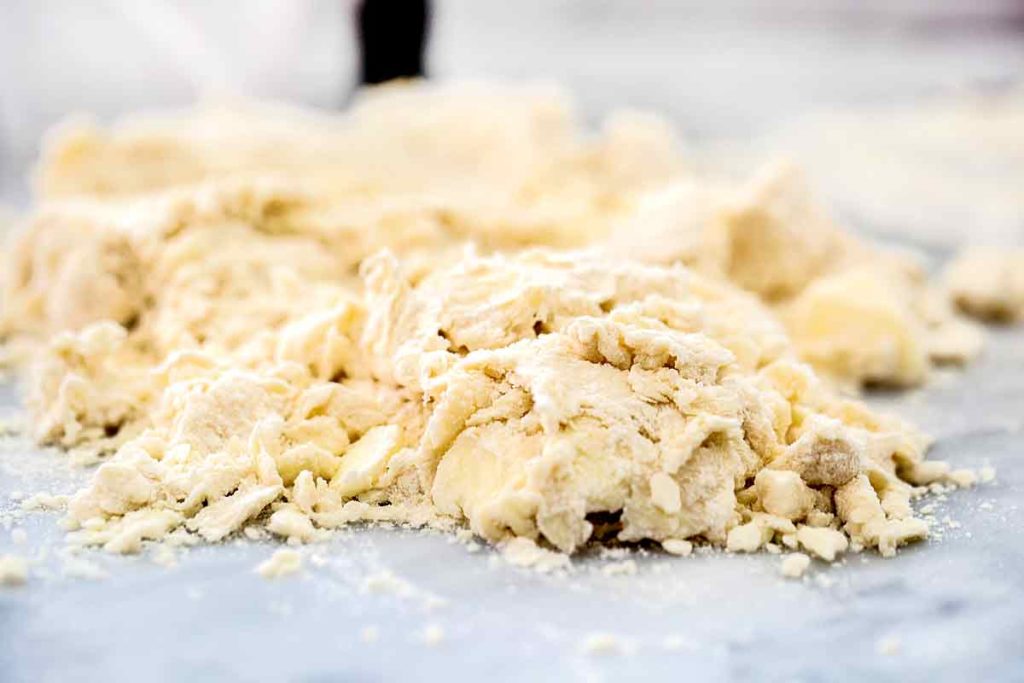
- Bring the pie dough together. Dump the dough onto a lightly floured surface and use a bench scraper to drag and scrape the dough and butter together, creating ribbons of shaggy dough folded onto itself. Add more water a little at a time until you can shape the dough into a ball.
- Chill for at least 30 minutes. Cut the ball in half to make two, wrap in plastic wrap, and refrigerate for at least 30 minutes up to 4-5 days, or freeze for up to a year.
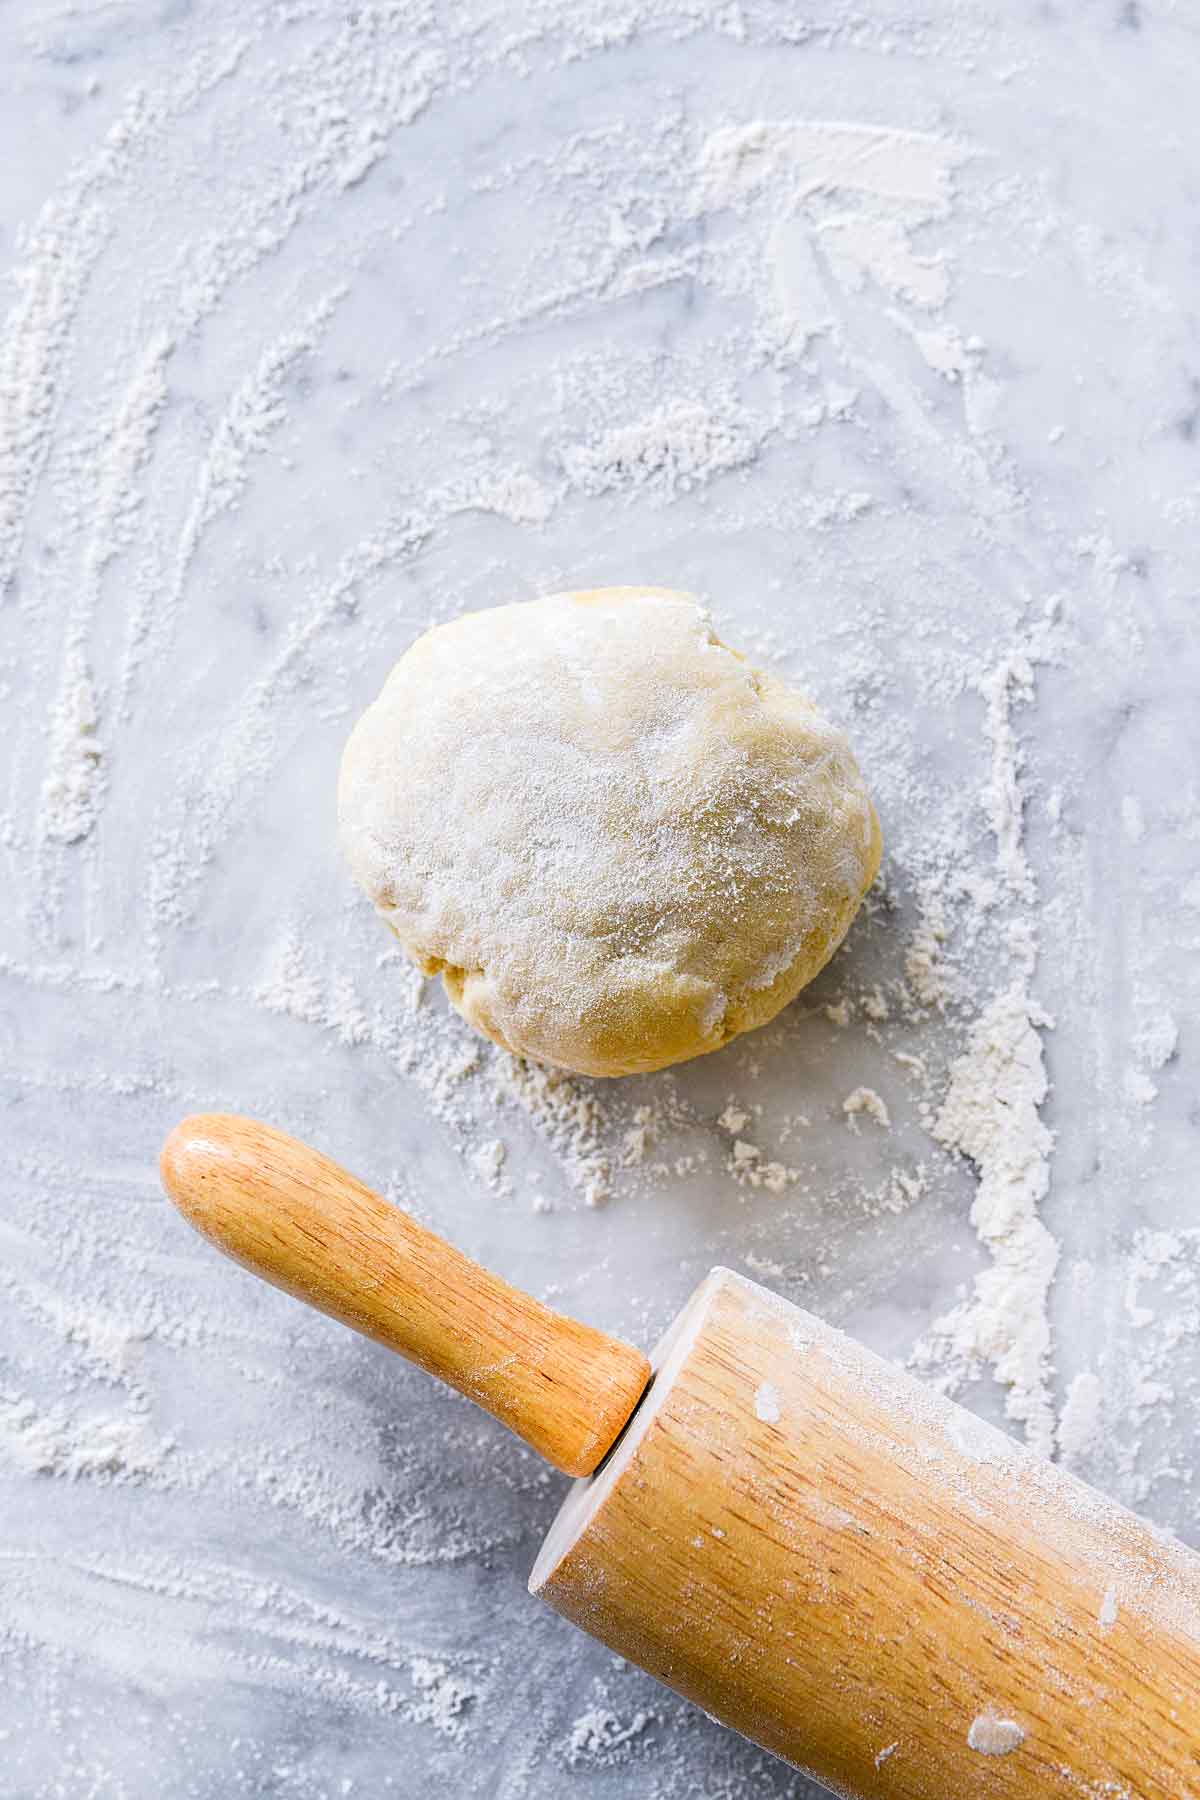

- Once you’re ready to roll your dough, remove it from the fridge to a lightly floured countertop. Use your fingers to make indentations along the outside circle of the pie disc before rolling (this helps prevent the edges from cracking). Pound the dough with the rolling pin to warm it slightly as it flattens and becomes more pliable.
Heidi’s Tip: When it comes to rolling out the dough think of unfurling a flag, not steamrolling it. First, roll all along the outside edge of the pie dough to flatten it slightly. Then, starting from the center of the dough, roll the dough, rotating it with every few swipes, until it reaches the size you’re looking for, about 12 to 13 inches for a 9-inch pie pan.
If you make this recipe, please let me know! Leave a ⭐️⭐️⭐️⭐️⭐️ rating below, leave a comment to tell us what you think, and tag me on Instagram @foodiecrush.
The Best No-Fail All Butter Pie Crust Recipe
Ingredients
- 12 ounces all-purpose flour
- 2 tablespoons sugar , (if making a sweet pie)
- 1 teaspoon kosher salt
- 1 teaspoon baking powder
- 8 ounces unsalted butter , cut into 6-8 pieces and frozen in a zip-top bag
- 4-5 ounces ice-cold water
Instructions
To Make the Pie Crust
- To make the pie dough in a food processor, add the flour, sugar, salt, and baking powder and pulse 2-3 times to blend. Add the butter, separating the pieces if they’re stuck together, and toss them with the flour mixture. Pulse the flour mixture until there is a mixture of almond/walnut-size pieces and pea-size pieces, about 7-10 pulses. Drizzle the cold water over the butter-flour mixture and pulse 3-4 more times.
- To make the pie dough in a bowl, mix together the flour, salt and sugar. Add the butter, separating the pieces if they’re stuck together, and toss them with the flour mixture. Cut the butter into the flour mixture until there is a mixture of almond/walnut-size pieces and pea-size pieces. Drizzle the water over the butter-flour mixture. Mix with fork.
- Dump the mixture on the counter. It should be loose and unincorporated. Use a bench scraper to gather the crumbs into the mass of dough. Use the heel of your hand to smear the mixture away from you one-third at a time. If the mixture is still dry rather than crumbly, add more water a tablespoonful at a time, sprinkling it over the dough. Gather the dough together with the bench scraper. Repeat again and then again if necessary.
- Cut the dough in half with the bench scraper and form each half into a puck shape. Wrap in plastic wrap and refrigerate for at least 30 minutes.
To Roll the Pie Crust
- Pull one of the dough pucks from the refrigerator and place on the countertop sprinkled with flour and sprinkle the dough with a bit of flour too. Use your fingers to make indentations along the outside circle of the pie disc before rolling (this helps prevent the edges from cracking). Rub some flour on the rolling pin then rap the dough with the rolling pin 6-8 times to soften it. Flip the dough over, lightly dust it with flour and rap the dough again, this time in the opposite direction.
- Starting from the middle of the dough, roll the dough away from you, giving it a quarter turn after each couple of passes. Flip the dough over and once again roll the dough from the middle outward, giving the dough a quarter turn each time, dusting the flour and the roller as needed. If any of the butter breaks through the surface, dab with a bit of water and join the pieces together, then sprinkle some flour over the exposed area and brush away the excess.
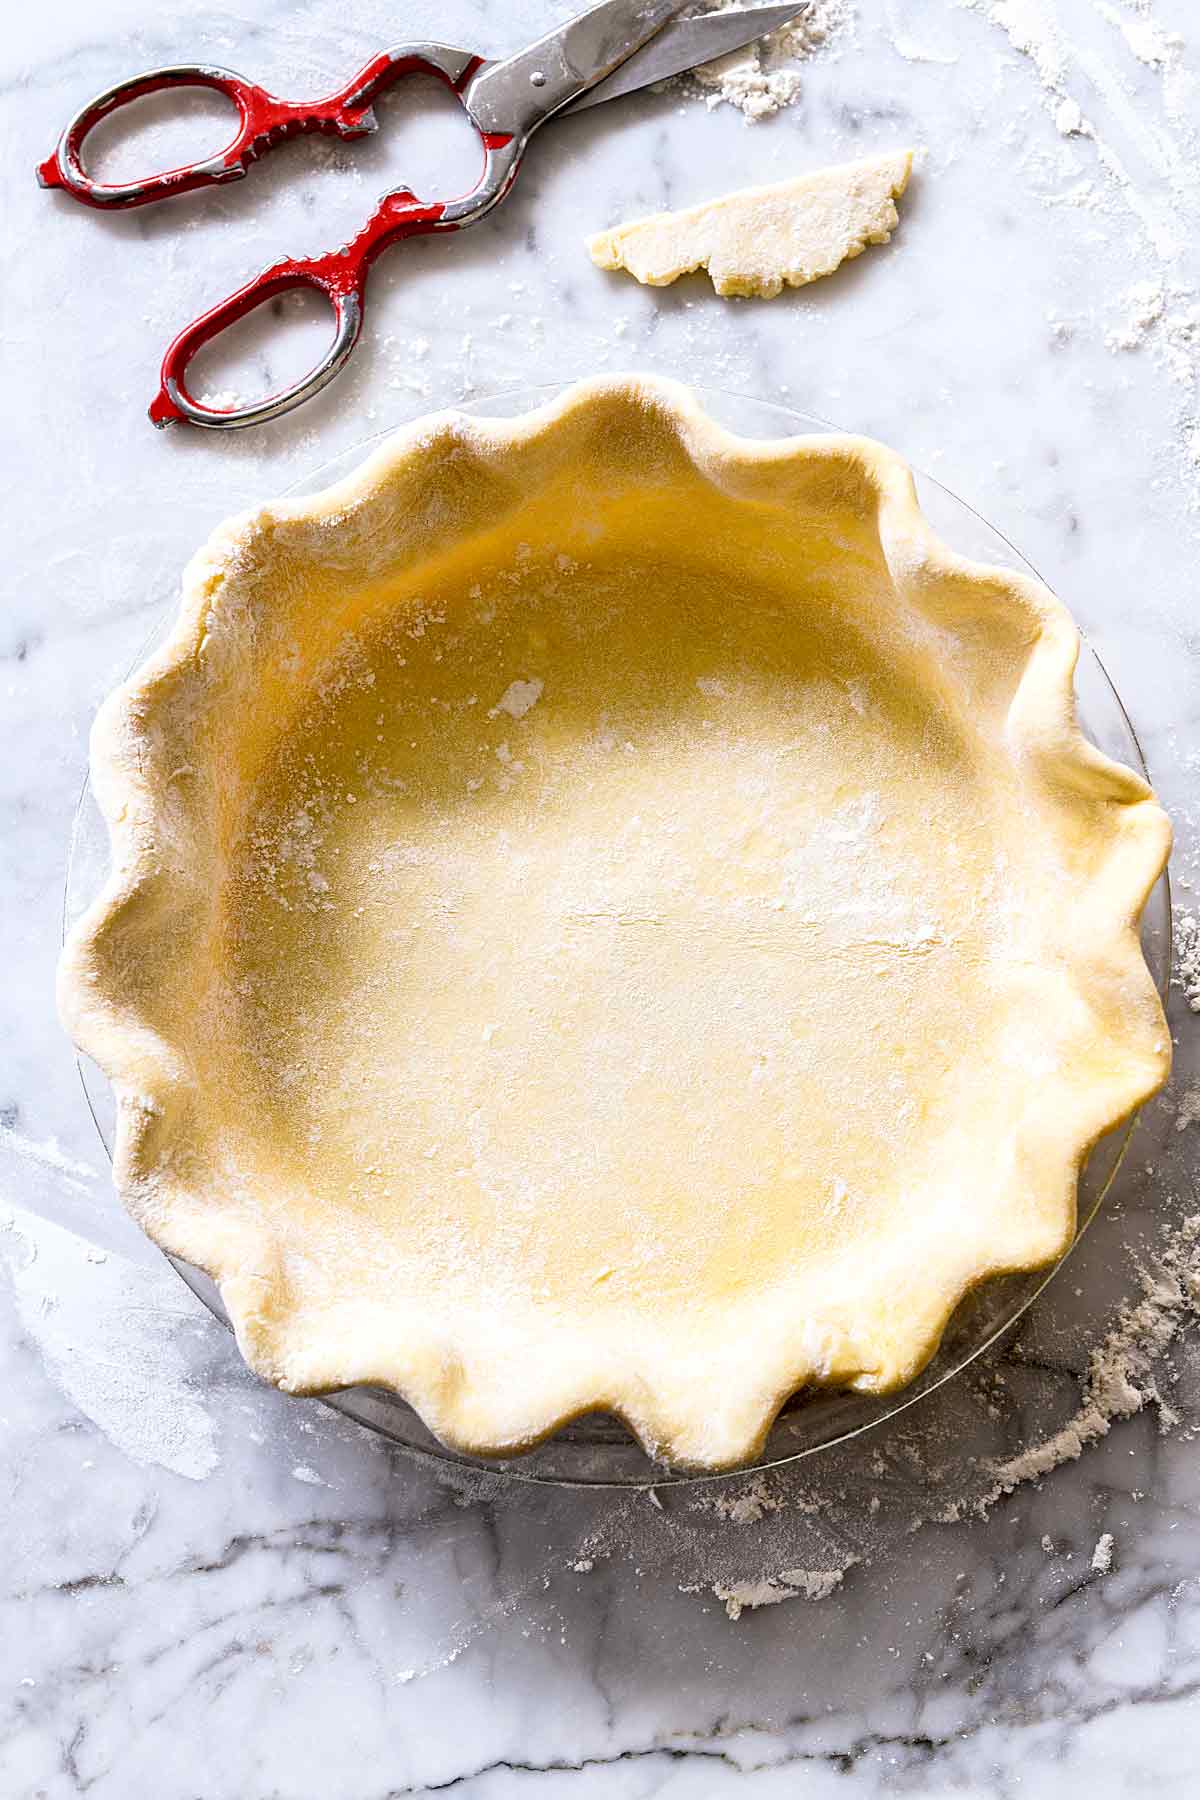
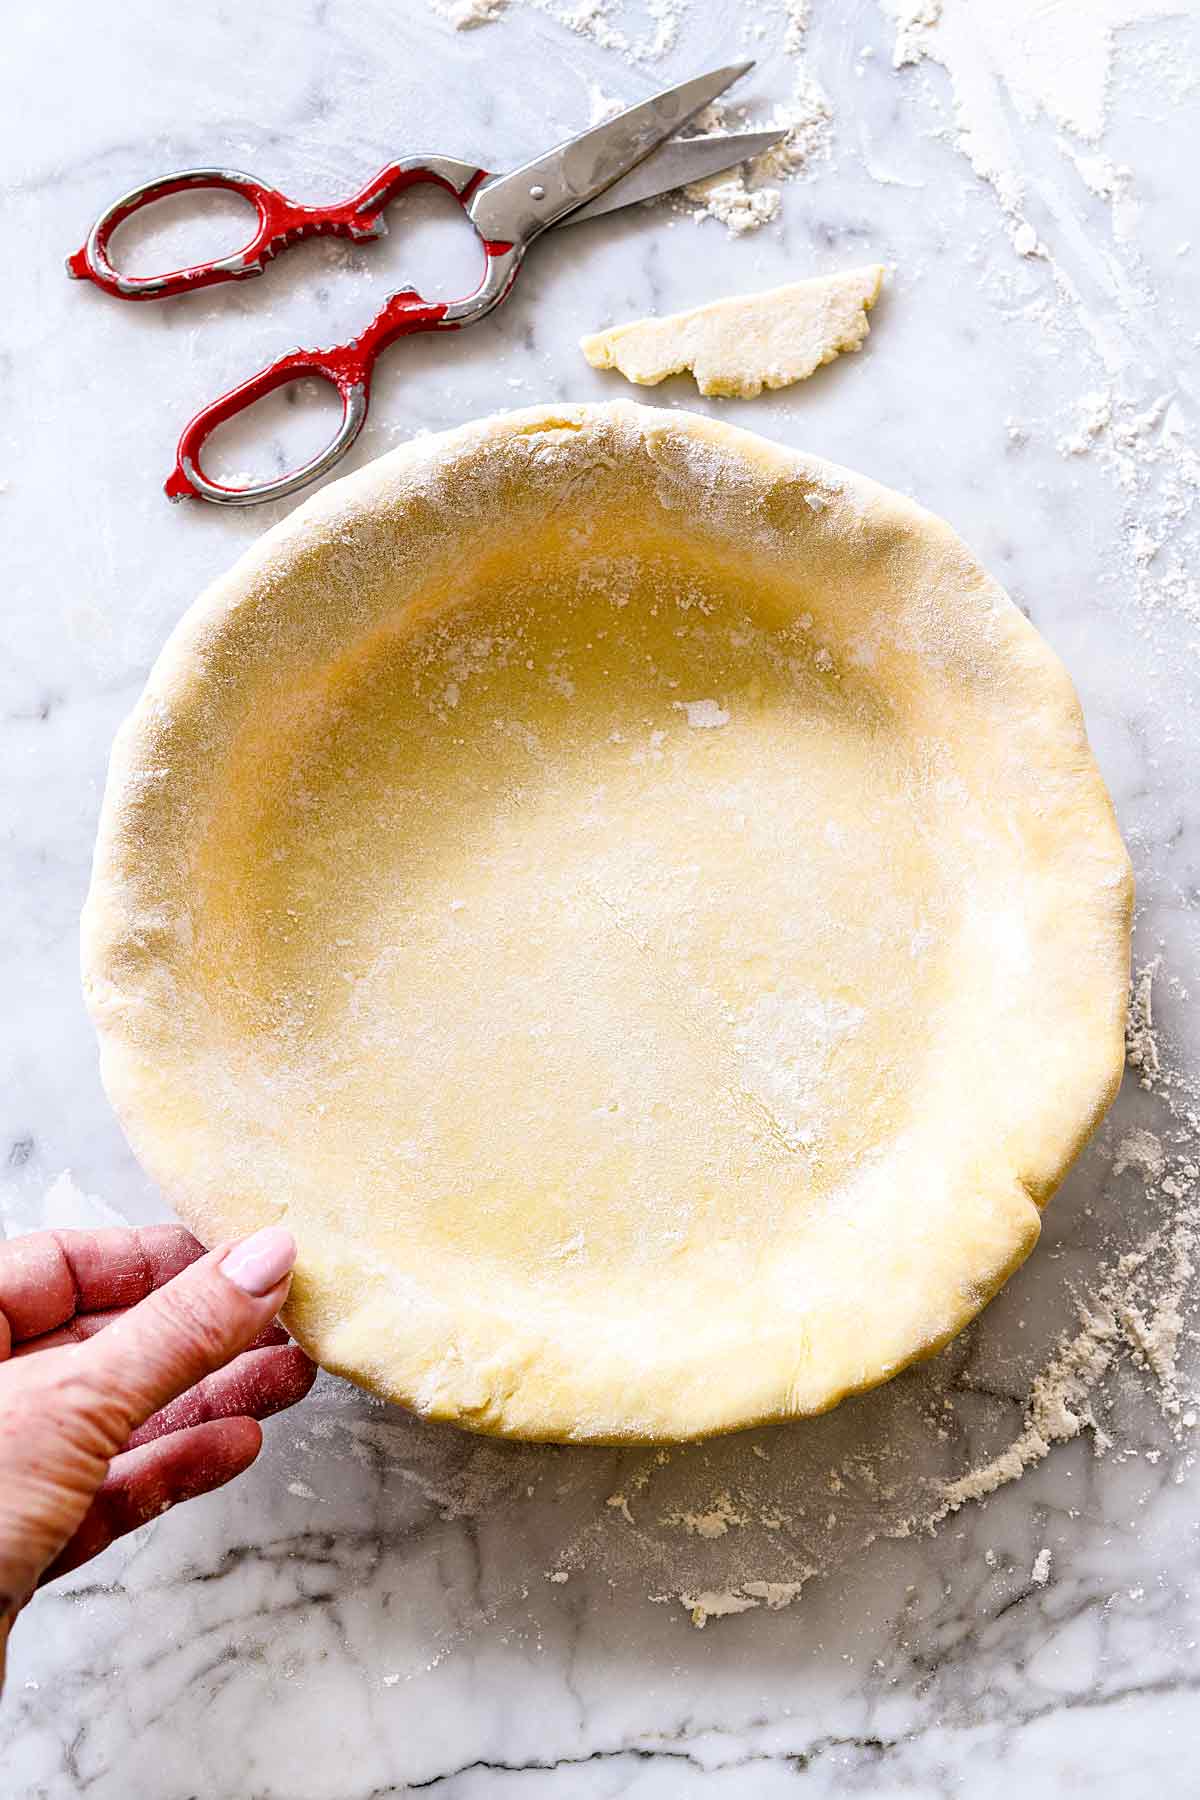
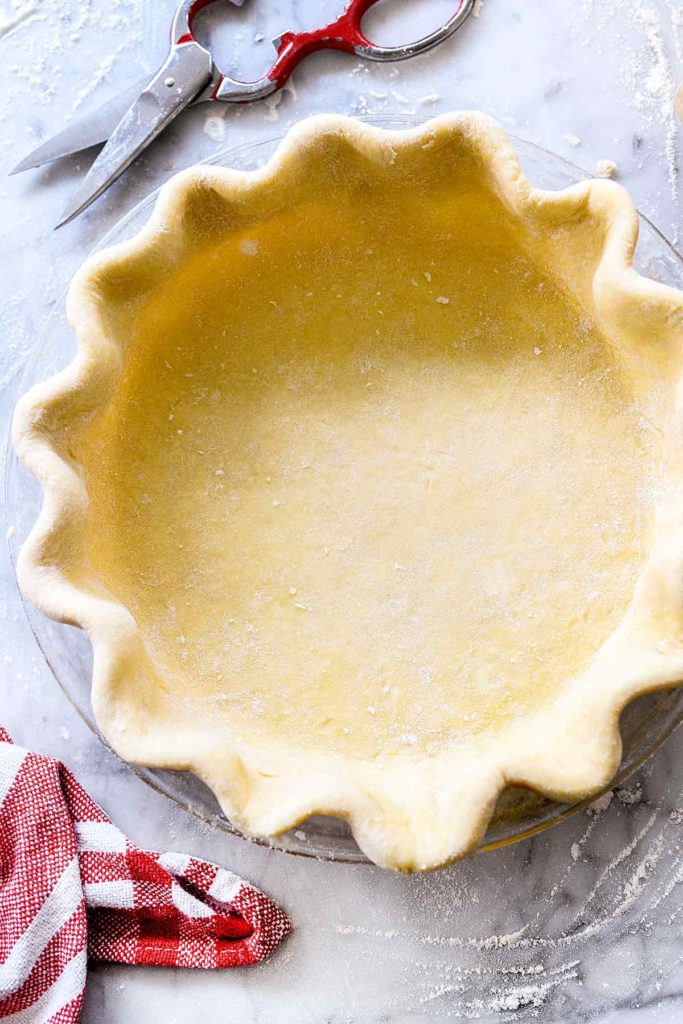
- Roll the dough to a few inches larger than your 9-inch glass pie pan. Gently fold the dough in half and in one movement lift it off the rolling surface and into the pan. Unfold the dough circle and gently ease it into the pan. Don’t stretch the dough down into the pan or it will bounce back and shrink when it heats up in the oven. Repeat with the other disc of pie dough.
- For a single crust pie, cover with plastic wrap and freeze the dough in the pie pan for at least 30 minutes or up to 1 month before baking.
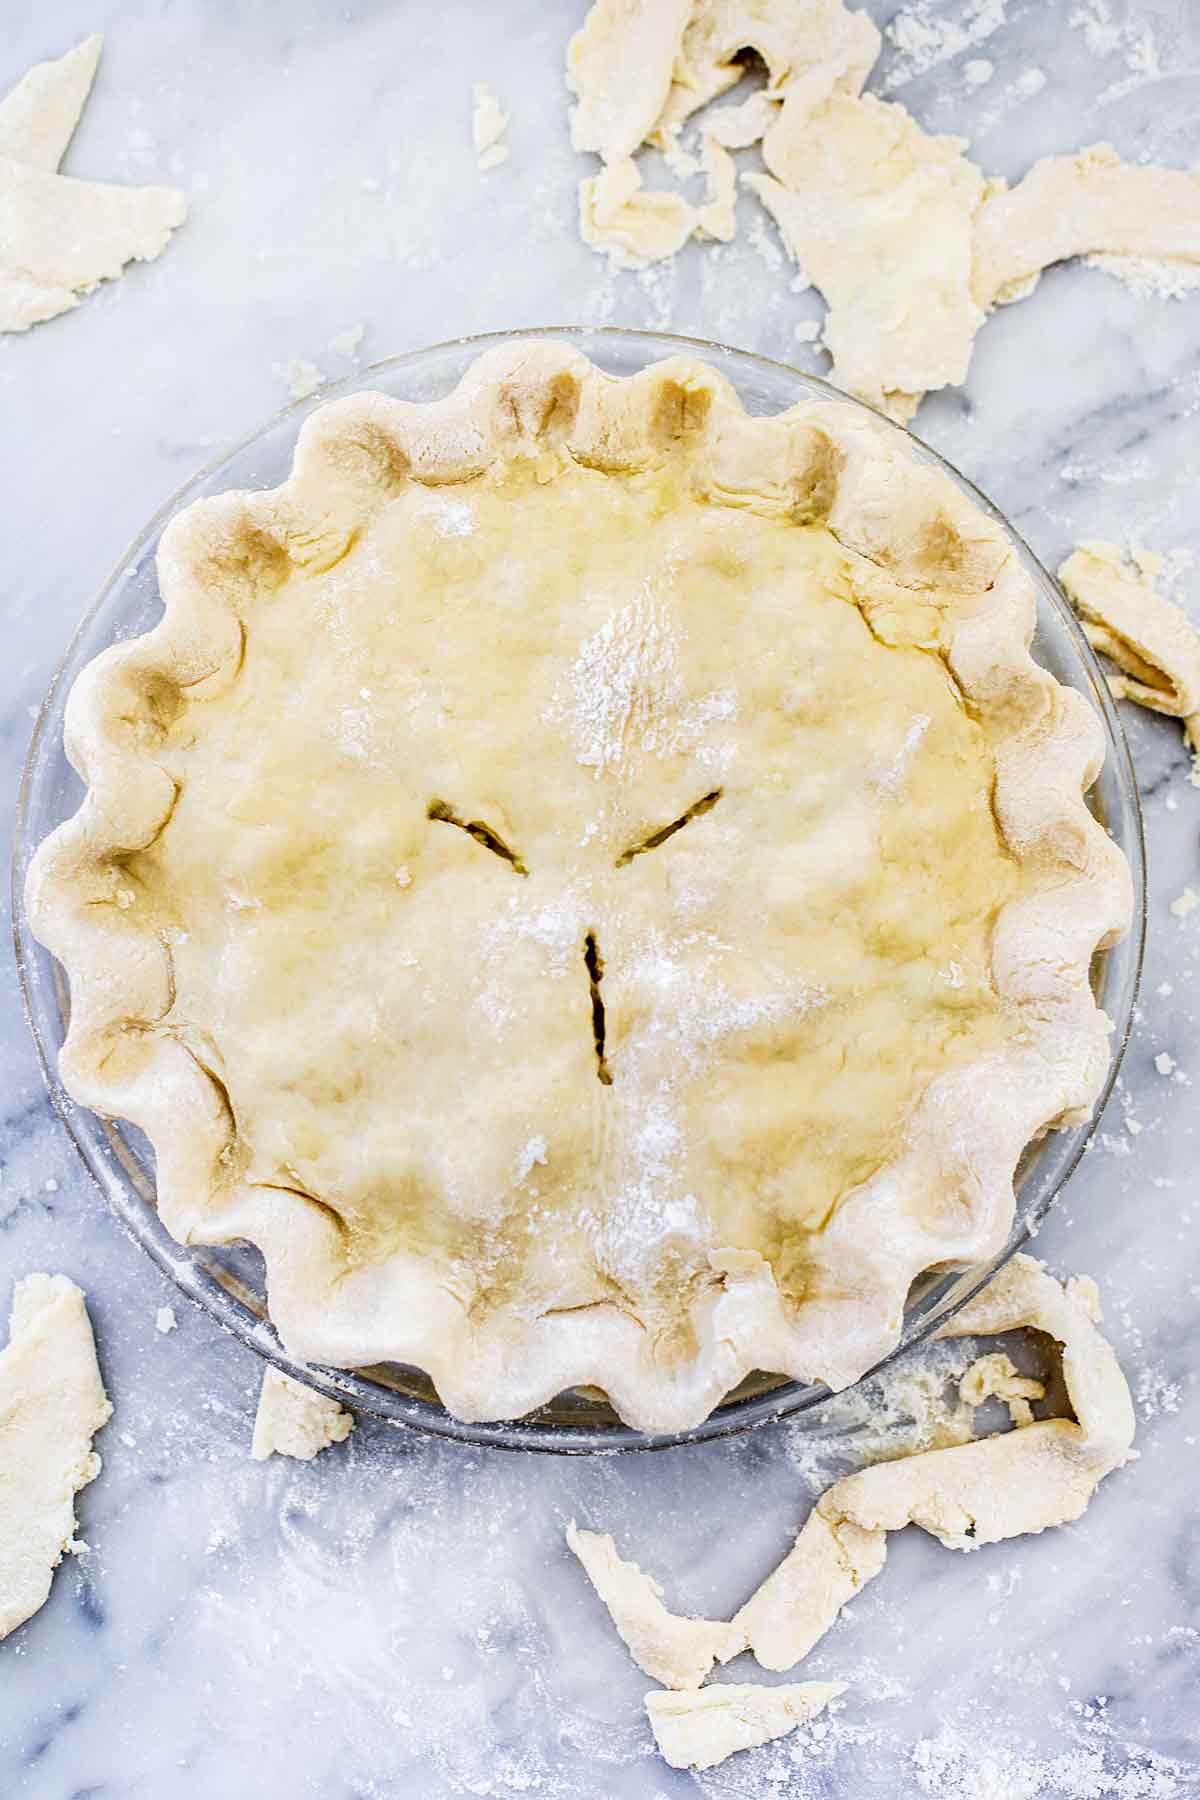
- For a double crust pie, fill your pie with filling, add the top pie crust and crimp the edges. Cover with plastic wrap and freeze for 30 minutes before baking or freeze for up to 1 month.
To Blind Bake the Pie Crust
- Preheat the oven to 350°F.
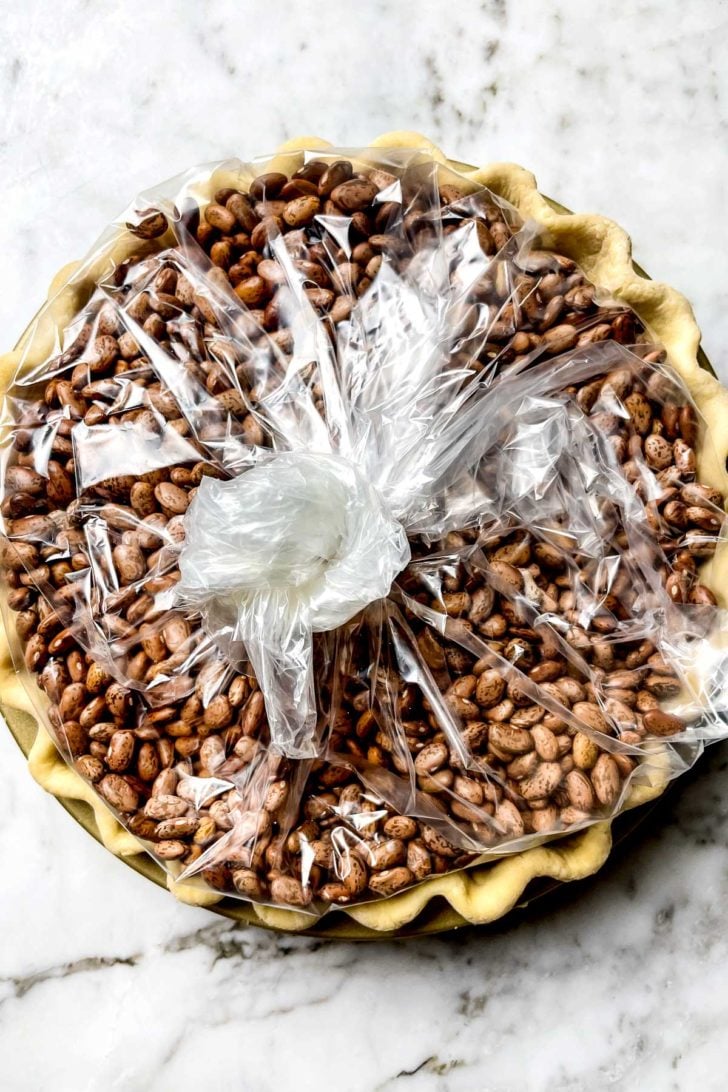
- Take the pie crust from the freezer and line the dough with heavy-duty aluminum foil, pressing into the edges with the edges of the foil falling over the sides making it easy to lift out later. Fill to the top crust's lip with pie weights, dry beans, or sugar.
- Bake for 45-50 minutes for a pie that you will cook further, like a quiche. Bake for 60-70 minutes for pies that need no further baking, like fresh fruit or custard pies.
- Remove the pie shell from the oven. Lift out aluminum foil with the pie weights using the overhanging foil. Let the pie weights cool and save for future pie crust baking.
Notes
Nutrition
Pie Crust FAQs and Troubleshooting
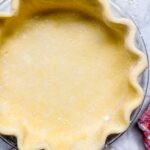
Crimping a pie crust can be as easy as using the tines of a fork to secure the edges, however as I mentioned at the top of this post, I love a big, Dr. Seuss looking pie crust just for the drama alone.
Use your fingers to gently roll the overhang of the dough either under itself toward the outside edge of the tin, or, toward the center of the pie, so it forms a ring on top as you move along the edge, sealing the edge as you go.
Crimp the dough using your thumb and index fingers to crimp the dough, firmly. Move clockwise until the crimped ring is complete.
Use beans in a bag for blind baking crusts. I discovered a new way to blind bake my pie crust that works like a charm. Fill an oven-safe cooking bag with 6 cups of dry beans, uncooked rice, or pie weights. Place the bagged beans in the semi-frozen, crust-lined pan then put directly into the oven. When finished, lift the bag of beans from the crust and save the beans in the bag for another baking day.
After seeing these tips from my friend Elise at Simply Recipes, I gave up trying to remember whether hot and fast, or low and slow was best for success. I went with her suggestion to blind bake the crust in a 350°F oven for a longer time, and it works like a charm—and it’s totally simple to remember.
-For a pie that you will cook further, like a quiche, blind bake the crust at 350°F for 45-50 minutes.
-For pies that need no further baking, like fresh fruit or custard pies, blind bake the crust at 350°F for 60-70 minutes.
Freeze the pie crust for 30 minutes before baking. Baking a pie crust frozen solid helps the crimps hold shape and not melt in the hot oven.
Toward the end of baking, check in on the pie crust. If it’s browning too much, protect the edges from the heat with a pie shield.
Brush the bottom crust with a whisked egg white before adding the filling, creating a barrier between the filling and the crust.
Bake in a glass pie dish to monitor the browning of the crust.
Set on a pre-heated baking sheet while baking so the heat is conducted directly to the bottom of the pie crust.
Steam vents look pretty on top of a double crust pie but also serve a purpose, allowing the steam to escape as the pie bakes so the top crust stays flaky and crisp, not soggy.
Wrapped tightly with plastic wrap and stored in a freezer-safe gallon bag, pie discs and crimped pie crusts can be stored in the freezer for up to one year.
Recipes to Make With This Pie Crust
Sweet Recipes
- Spiced Pumpkin Pie
- Mountain Fresh Peach Pie
- Rhubarb Raspberry Pie with Oatmeal Crumble
- Skillet Cherry Pie
- Caramel Apple Pie
- Pecan Pie
Savory Recipes
- Curry Turkey Pot Pie
- Quiche Lorraine
- Spinach, Artichoke and Goat Cheese Quiche
- Chicken Pot Pie
- Ham and Broccoli Quiche
We send good emails. Subscribe to FoodieCrush and have each post plus exclusive content only for our subscribers delivered straight to your e-mail box.
Follow me on Instagram, Facebook, Pinterest for more FoodieCrush inspiration.
As always, thank you for reading and supporting companies I partner with, which allows me to create more unique content and recipes for you. There are affiliate links in this post of which I receive a small commission. All opinions are always my own.


Pamela Neumann
Using a food processor does take care of us that can’t get the ‘feel/correct look’ of the flour & butter combo. I have used the ‘Flour Pastry’ method for the past 40 years. It works every time. No chilling dough. No guessing how much liquid to add. I have only entered one baking contest and I knew I had won when I heard the head judge say “the crust.” Try it.
Will do Pamela. Thanks for the tip!
Laura
Best pie crust ever -next time I need to remember to freeze it 30 min before baking but still turned out delicious, followed your directions to the letter otherwise, I don’t think I’ll ever buy a pie crust again- seriously that delish.
Hayley
Thanks, Laura! We’re so happy you enjoyed it and that it worked out well for you!
annie
A food processor? I don’t have one.
Hayley
No worries, Annie! You can totally do this by hand. Just use a pastry blender (or your finger) to work in the cold butter (just make sure it’s super cold and that you work quickly).
Annie
Thank you!!! Apple pie weekend coming up, I’ll let you know!
Mollie
This is a wonderful recipe! Someone gave me sour cherries and I’d like to bake them a pie but they’re gluten free. Is there a GF flour I can substitute and get the same results?
Hayley
Hi Mollie! You could try using a GF all-purpose flour but we haven’t tried making a GF version, so we can’t vouch for how it would turn out.
James Goacher
Oh good. What a comprehensive guide.
Not sur if you are replying to these comments but this is for a ‘Sweet’ Pastry how would you change it for a ‘Savoury’ Pastry for meat pies for instance. Would it just involve leaving out the sugar say or substituting some of the other ingredients as well?
By the way – I have only once made pastry for a deep meat and food pie and when the recipe said – “Line a pastry pan thingy” I layed it on like all paper. It leaked a little. I have since learnt better but that is my total experience and I want to make some pies cos I like them :-).
Hayley
Hi James! We’re glad you find this helpful! No need to adjust this if using in a savory iteration. The sugar is really just in there more for browning, not so much for sweetness. Enjoy! :)
gun mayhem
This looks amazing! I will definately give it a try!
I hope I will manage as I am not a great cook!