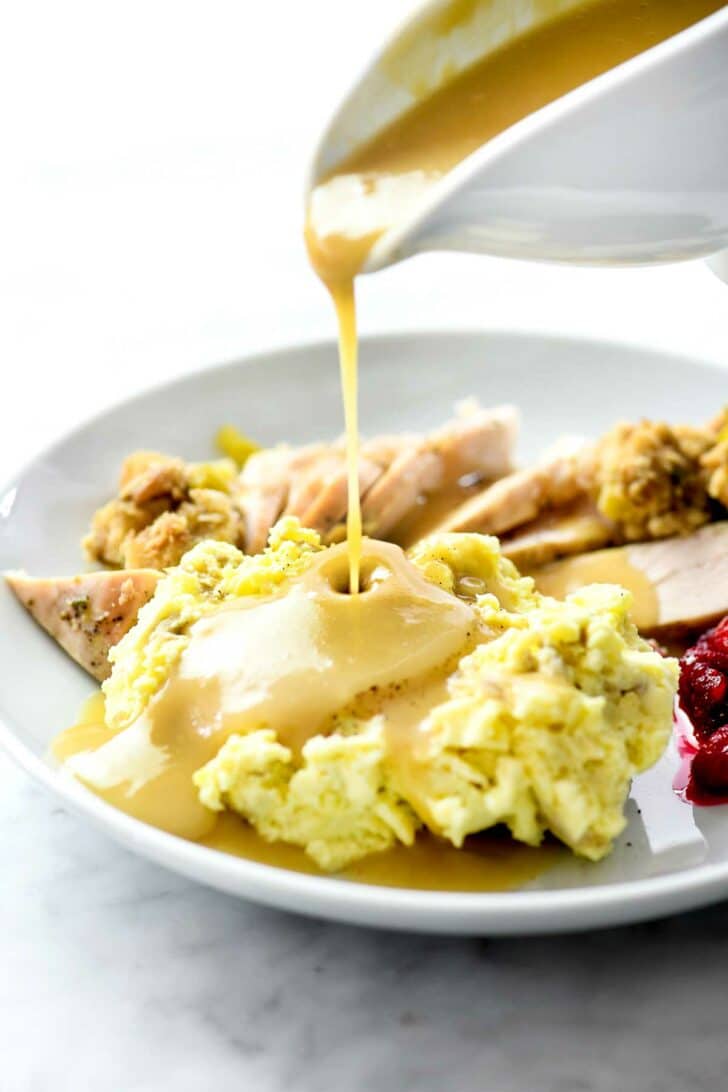
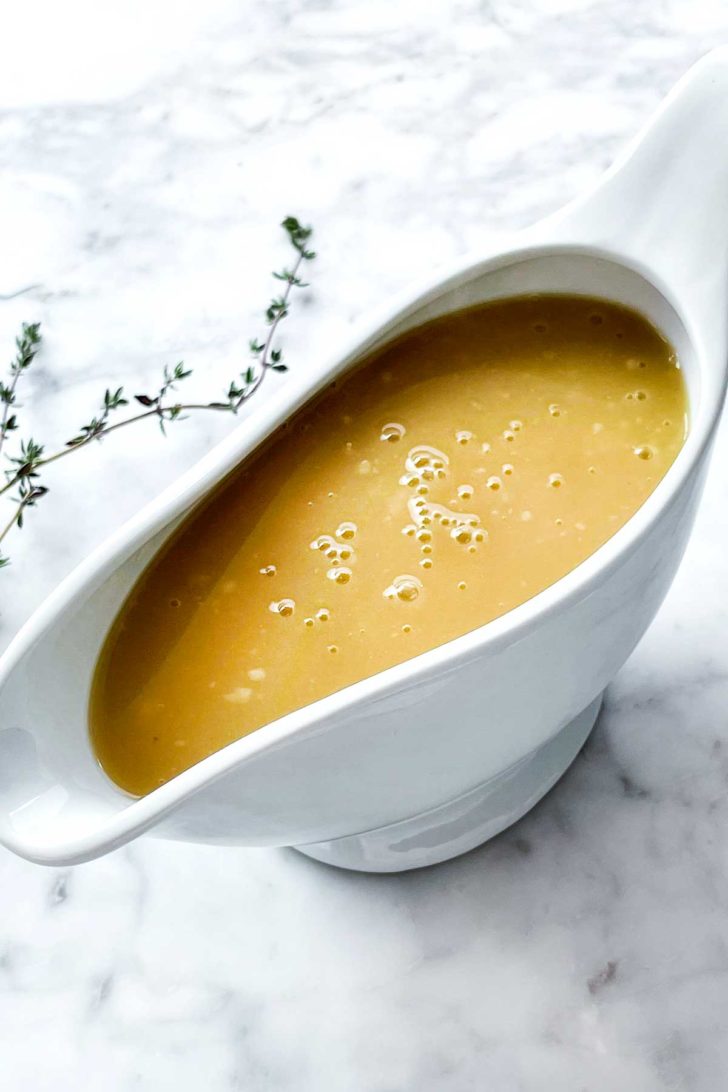
This turkey gravy recipe is so smooth, silky, rich, and savory, and can easily be made ahead of time or on the day of your Thanksgiving feast thanks to two easy methods to choose from and my helpful tips.
GET THE THANKSGIVING PREP GUIDE: Get your FREE Thanksgiving plan, timeline, recipe, and menu inspiration, plus all the tips & tricks you need to pull off the best Thanksgiving yet. AND! FREE printable.
Making Gravy From Turkey Drippings Is Easy, Promise!

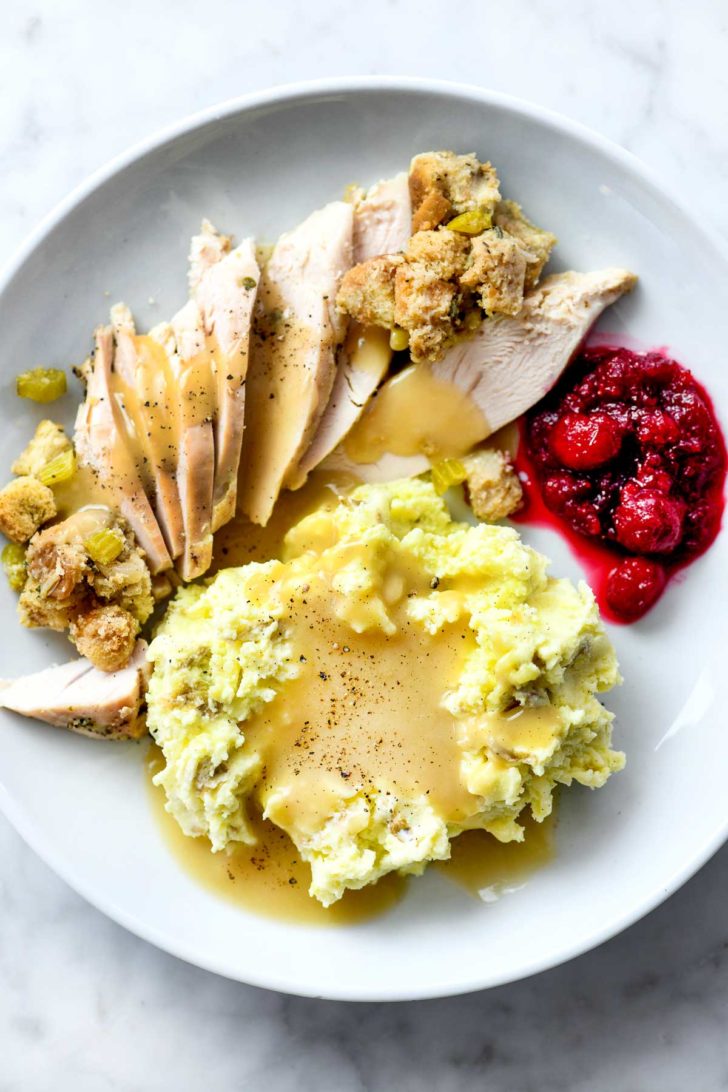
Thanksgiving dinner wouldn’t be the same without a perfectly pillowy pile of my favorite mashed potatoes dripping in gravy alongside a moist and juicy turkey. Go ahead. Gravy the turkey, too.
You can make this homemade turkey gravy recipe two ways. The most traditional option is to use the pan drippings from your Thanksgiving day turkey to make gravy not long before your special meal.
But if you’re looking for a more stress-free cooking situation, you can make it ahead of time with the drippings from roasted turkey parts, then warm it up on the big day.
Both of these gravy-making techniques deliver a super-infused turkey gravy thanks to the flavoring of homemade turkey stock with all the savory succulence only roast turkey drippings can provide. No matter when you make it, follow this recipe and your guests will forever be raving about how you are the queen clucker who makes the best turkey gravy ever.
Enjoy!

Heidi’s Tips for Recipe Success
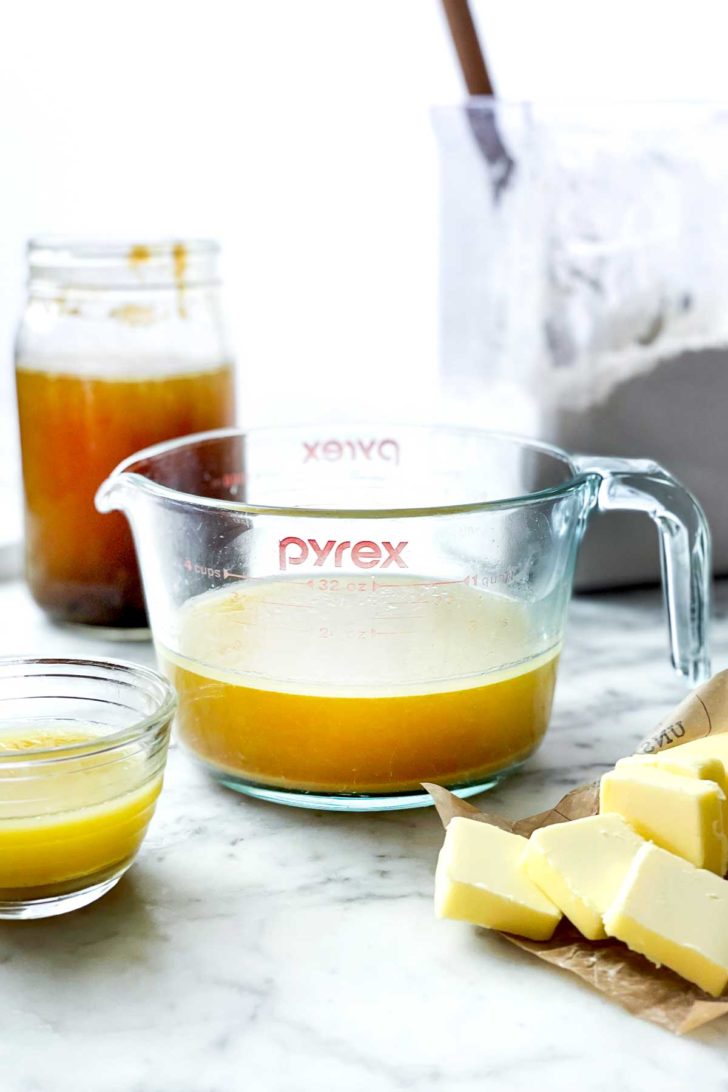
Reap the benefits of a fatty, flavorful fond. Wait. What’s fond? As meats with skin or fat cook, the fat renders and drips off into the liquid with all the little meaty bits in the bottom of the pan. This is the fond, drippings, or schmaltz. Discard the veggies and herbs, pressing any moisture locked within, and separate most of the fat from the liquid — I like to keep some of it for flavor. When cooled, the mixture creates a gelatinous mixture that acts as a natural thickener for gravy. If making from a whole turkey, add more liquid as the turkey cooks so the bottom of the pan doesn’t dry out and burn, or you’ll find yourself fond-less.
Use homemade turkey stock. A deep flavor is a key to making a killer gravy, and broth from a can won’t cut it. Make a homemade turkey stock from the picked-over roasted turkey parts (discard the cooked veggies) with fresh aromatics simmered in water for a few hours on the stove. The best part of making the turkey stock ahead of time is you can freeze it for 6 months to 1 year.
The 3 Key Ingredients for Making Any Gravy
The full recipe, with amounts, can be found in the recipe card below.
Almost all gravy is made with three essentials:
- First, fat. In this recipe use the pan drippings the meat renders as it cooks, butter, or a combination of the two.
- Next, a savory broth or stock made from the type of meat it’s mirroring.
- Finally, a thickener or roux, typically made of flour, is mixed into the melted fat.
Here’s what you’ll need to make my turkey drippings gravy recipe:
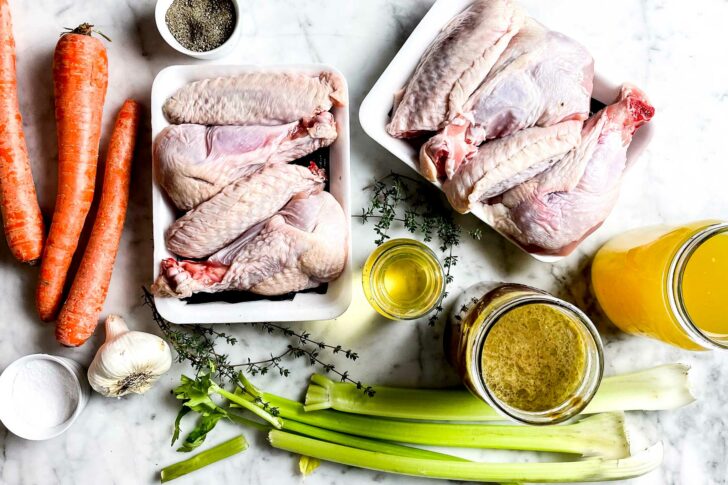
- Turkey pan drippings with liquid — Made with the drippings from a whole roasted turkey if making the day of OR drippings you make from turkey drumsticks and/or turkey wings if doing ahead (all of the details on how to make your own drippings ahead of time have been provided in the recipe card below!).
- Butter – I use unsalted.
- All-purpose flour — My thickener of choice when making gravy.
- Turkey stock — Homemade adds the most flavor, but store-bought turkey or chicken broth works too.
Heidi’s Tip: Be careful when using drippings from a brined or kosher turkey, since they will carry a lot of salt. Taste the gravy before seasoning to avoid a gravy that’s too salty.
How to Make Turkey Gravy From Drippings (Day Of)
Heidi’s Tip: A whole roast turkey needs to rest for at least 30 minutes before it can be sliced and served, which gives you plenty of time to whip up this easy turkey gravy.
- Strain the pan drippings. I’ll pour the drippings through a mesh strainer and into a large measuring cup to prevent any bits of vegetables or turkey from sneaking in.
- Let stand for 5 to 10 minutes, then separate. The fat will naturally rise to the top of the drippings as it cools down (pop the drippings into the fridge to speed up this process). Some people use a fancy fat separator, but I just skim off the fat using a spoon.
- Top off the separated drippings with turkey stock. You want to have 5 cups of liquid total.
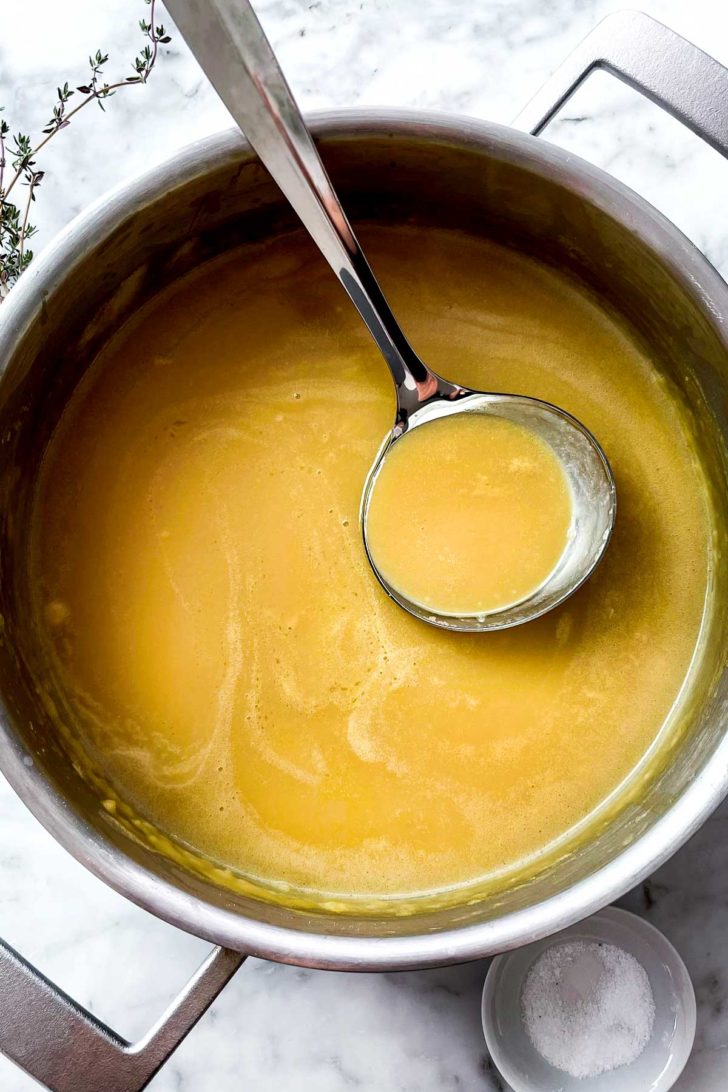
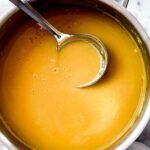
- Make the gravy. I make my gravy in the empty roasting pan that originally help my turkey. Pop it over two stove burners, melt a little butter in the pan and then whisk in some flour. Gradually whisk in your 5 cups of stock / drippings mixture and simmer until the gravy is nice and thick.
Heidi’s Tip: Cook the flour and fat together until golden and smelling toasty (whisking constantly for about 5 minutes) so the gravy doesn’t have a bland, floury taste.
Make-Ahead Option
The beauty of this do-ahead turkey gravy recipe is you can make it ahead of time and save yourself some last-minute stress. Here’s how:
- Roast the turkey, strain the drippings, and separate the fat. I’ve given detailed instructions in the recipe card below on how to make drippings from turkey drumsticks or wings.
- Make the turkey gravy as instructed, then chill. This is where the “make ahead” bit comes into play! Let the gravy cool before storing airtight in the fridge for up to 3 days.
- Reheat in a saucepan over low heat. The gravy will be very thick, so you’ll want to warm it up low and slow to prevent scorching it. You might need to stir in some extra broth if it’s too thick for your liking.
Need to Thin or Thicken Your Turkey Gravy? Here’s How!
If your gravy is too thick, stir in more stock (a few tablespoons at a time). If it’s too thin, make a paste from 1 tablespoon butter and 1 tablespoon flour mixed with ⅓ cup gravy, then slowly whisk into the pan of gravy.
If you make this recipe, please let me know! Leave a ⭐️⭐️⭐️⭐️⭐️ rating on this recipe below and leave a comment, take a photo and tag me on Instagram with #foodiecrusheats.
How to Make Turkey Gravy From Drippings
Ingredients
For the Drippings (only needed if making the gravy in advance)
- 4 pounds bone-in turkey wings and/or drumsticks
- 4 celery ribs , cut into big chunks
- 2 medium yellow onions , cut into big chunks
- 2 carrots , cut into big chunks
- 1 head of garlic , halved
- 4 sprigs fresh thyme
- 1 cup white wine
- 3 cups chicken broth or water, or combination
- 4 tablespoons butter
- olive oil
- kosher salt and freshly ground black pepper
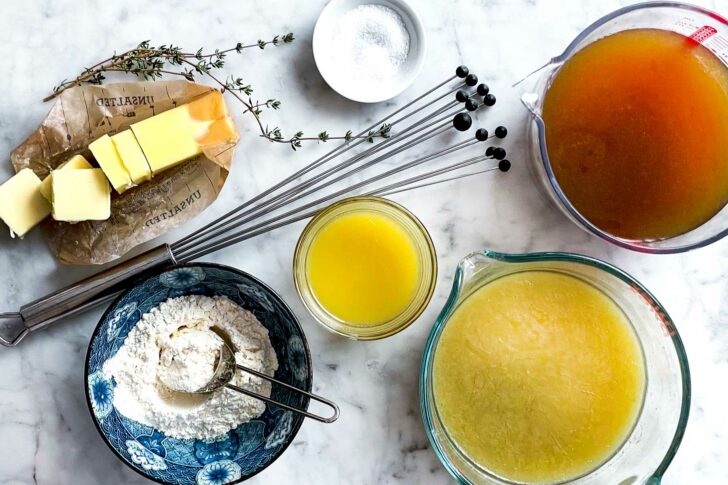
For the Gravy
- 3 tablespoons reserved separated fat from drippings
- 2 tablespoons butter
- 8 tablespoons all-purpose flour , (½ cup plus 1 tablespoon)
- 1 cup reserved drippings
- 4 cups turkey stock
- 1 tablespoon soy sauce
Instructions
How to Make Turkey Drippings
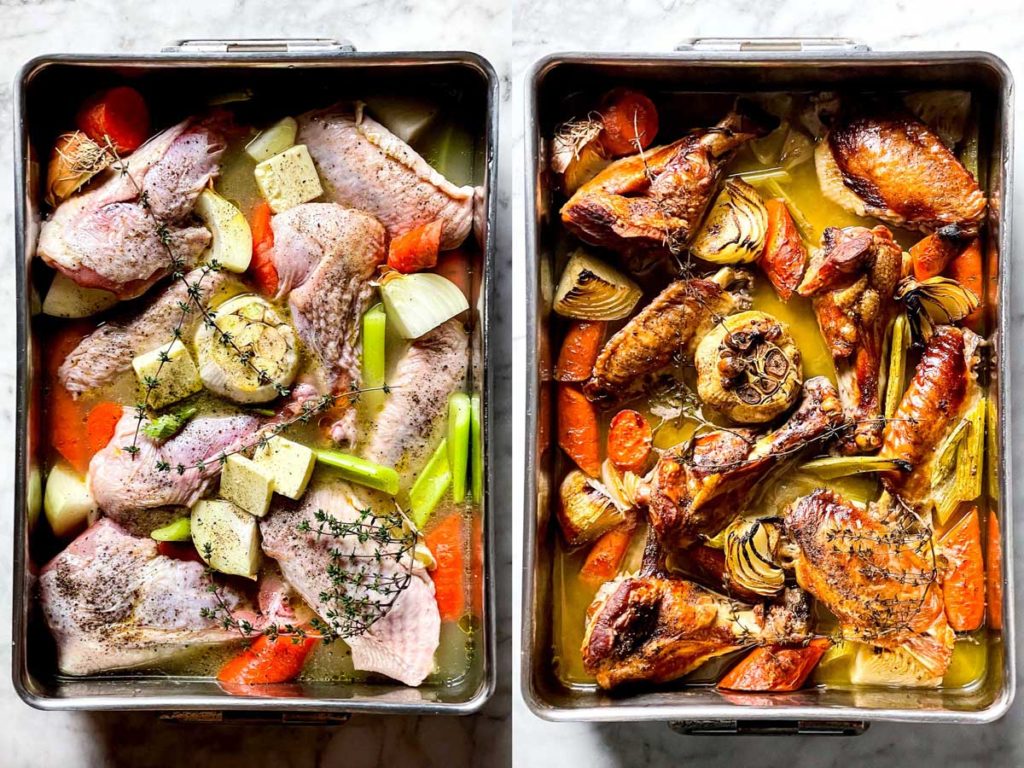
- Preheat the oven to 400°F. Place the turkey parts in a roasting pan and nestle the vegetables around the parts. Add the white wine and chicken broth or water. Drizzle the turkey parts with olive oil and season with kosher salt and black pepper.
- Roast for 1 hour. The liquid should be reduced by half or more to make 1 ½ to 2 cups. Check midway through cooking and add more water or broth so the pan doesn't go dry.
- Remove the turkey parts and vegetables, pressing out any liquid from the veggies. Save the turkey parts for making turkey broth if desired or discard with the vegetables.
- Strain the pan drippings into a large measuring cup or fat separator and let stand for 5-10 minutes for the fat to rise to the top. Spoon off the fat from the drippings, reserving the fat and the drippings separately.
- At this point, you can refrigerate the fat and the drippings where they will thicken and congeal until you're ready to make the gravy, or go ahead and make it now.
How to Make the Gravy Ahead of Time
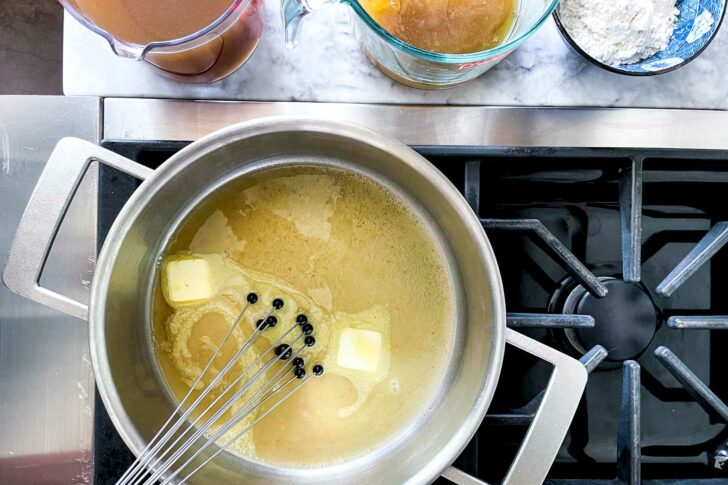
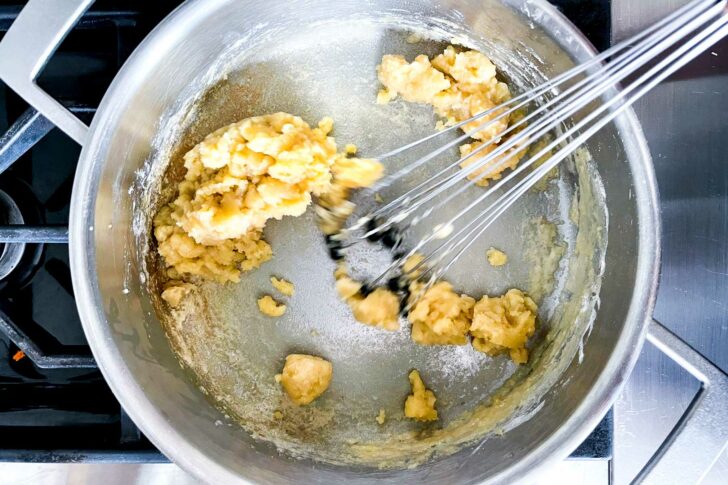
- Melt 3 tablespoons of the reserved fat with the butter over medium heat. Sprinkle in 1-2 tablespoons of flour at a time, whisking well until each addition is totally incorporated and smooth, similar in consistency to pancake batter. Whisk continuously while cooking the roux for 4-5 minutes until deep golden brown and smelling nutty. If the roux clumps like cookie dough, add more fat or butter to thin it out.
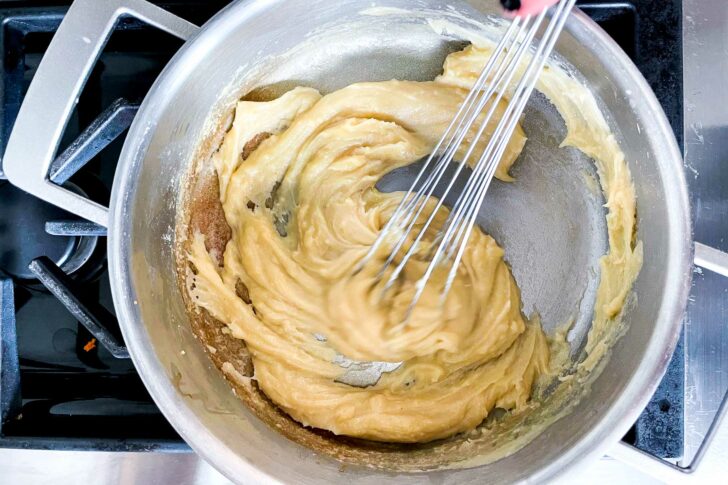
- Gradually whisk in the reserved drippings, then slowly add the turkey stock, about ½ cup at a time, stirring and whisking as you add the stock so the gravy doesn't get lumpy. It will expand as you add the liquid and should be loose and bubbly.
- Cook the gravy for 5-10 minutes until it thickens and covers the back of a spoon. If it's too thick, add more stock. If it's too thin, make a paste from 1 tablespoon butter and 1 tablespoon flour mixed with ⅓ cup gravy, slowly whisked into the pan of gravy.
- Taste for seasoning. If it needs more turkey flavor, add more drippings or stir in 1 tablespoon of soy sauce or Worcestershire sauce.
- To reheat when ready to serve, warm the gravy in a saucepan over medium-low heat until warmed through. Cover until ready to serve.
How to Make Gravy Just Before the Meal
- Transfer the roasted turkey to a platter to rest. Strain the pan drippings into a large measuring cup or fat separator and let stand for 5-10 minutes for the fat to rise to the top. Separate or spoon off the fat and set aside.
- Pour the liquid drippings into a large measuring cup and add turkey stock to make 5 cups and set aside.
- Place the empty roasting pan on the stove over two burners on medium heat. Melt 3 tablespoons of reserved fat and 2 tablespoons of butter in the pan.
- Whisk in 1-2 tablespoons of flour at a time, whisking constantly while picking up all of the browned bits (fond) from the bottom of the pan for 4-5 minutes or until golden brown and nutty.
- Gradually whisk in the reserved drippings (at least 1 cup) and the turkey stock. Bring to a simmer over medium heat and cook until the gravy is thick enough to coat the back of a spoon.
- Taste for seasoning and add 1 tablespoon soy sauce or Worcestershire sauce if needed.
Notes
Nutrition
FAQs and Troubleshooting
Add umami — that rich, salty depth that makes foods savory — with soy sauce, Worcestershire sauce, or MSG (found commonly as Accent in the spice aisle.)
Or add a tablespoon of Better Than Bouillon turkey base for more turkey flavor.
Cornstarch makes for a silky smooth gravy, but in my experience gravies thickened with cornstarch turn almost gelatinous as they sit out on the counter.
That’s why I prefer using flour to thicken my gravy. Flour-based turkey gravy reheats well and stays smooth and creamy as it sits out.
Adding thickener can turn a silky smooth gravy lumpy in a heartbeat, and that’s something no cook wants. I prefer using flour to thicken mine, and here’s how I thicken the gravy and avoid any lumps:
1. Place 1 tablespoon of all-purpose flour in a small bowl.
2. Mix in 1-2 tablespoons of the thin gravy to make a paste. Add more gravy to thin it to a more liquid consistency, stirring until smooth.
3. Slowly add the floury mix into the gravy, whisking with flair as you do. It should incorporate without any lumps. Cook for a few more minutes to thicken until it’s reached your desired consistency.
4. If the gravy turns out lumpy, strain the lumps and discard, or mash to a paste and whisk back in.
Storage and Reheating Tips
Leftover turkey gravy recipe will keep in stored in an airtight container in the refrigerator for 3-4 days, or in the freezer for up to 3 months.
To reheat, warm the gravy in a saucepan over medium-low heat until warmed through. Cover until ready to serve.
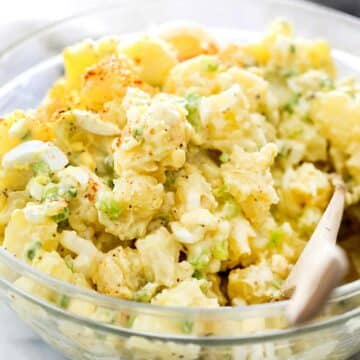
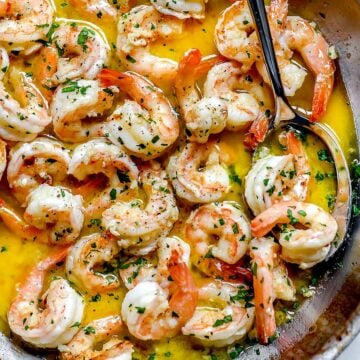
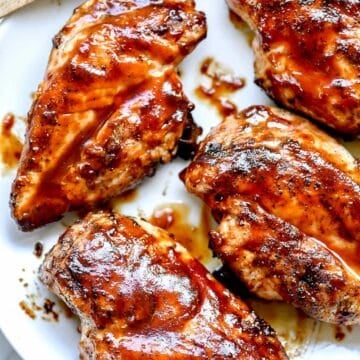
What to Serve With Turkey Gravy
GET THE THANKSGIVING PREP GUIDE: Get your FREE Thanksgiving plan, timeline, recipe, and menu inspiration, plus all the tips & tricks you need to pull off the best Thanksgiving yet. AND! FREE printable.
We send good emails. Subscribe to FoodieCrush and have each post plus exclusive content only for our subscribers delivered straight to your e-mail box.
Follow me on Instagram, Facebook, Pinterest, for more FoodieCrush inspiration.
As always, thank you for reading and supporting companies I partner with, which allows me to create more unique content and recipes for you. There are affiliate links in this post of which I receive a small commission. All opinions are always my own.


Things to do
Thank you so much for the nice recipe!